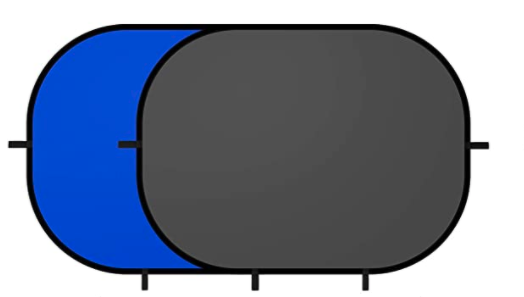
It was time for a more specialized backdrop. I made this post for anyone who is looking into these because we all know that photography costs add up and we want to buy wisely.
I do have a backdrop set up already in another area of my basement. It’s solid. It’s perfect for group shots. But because it requires two solid stands which require space and some finagling with the backdrop itself, it’s not the ideal situation for a quick setup and strike or to be used in small spots. The self-shots I’ve been doing this year can be exhausting because there is a lot to think about and do. So anything that requires additional time, adds resistance. I could always skip a backdrop, and have, after all, I am cutting the self-shots out. But this then adds more time on the back end of it, especially dealing with things like hair.
So I have had my eye on these backdrops listed on Amazon (this is an affiliate link to the one I actually bought, by the way).
I wanted grey because that too makes dealing with the edges of the cut out much easier. Also, light spill on the subject becomes less of an issue than if you were to use a green or blue chroma key backdrop. Even if you are using a ver matte chroma key, you can still get light spill, but it’s really the edges that cause the most pain in Photoshop. I wanted something head-to-toe (I’m ok with cutting out around the feet and if it comes to that I’ll throw down some grey material). I something that could be set up with a single light stand or even leaned against a wall and at the same time would have a few wrinkles in case I actually wanted to use it for other portraits. Something fast and easy. This seems to fit the bill.
What I wasn’t prepared for was just how large it actually was when I actually opened it up! I had measured it out before I ordered it, but somehow seeing a tape measure floating in the air is not quite the same thing! I was a little overwhelmed.
However, it does mount on a single light stand (the one I got from Amazon comes with a convenient clip. If you want it to hang straight down the top of the stand needs to be higher than 6.5 feet, otherwise, it rests against the legs of the light stand.
Warp Speed
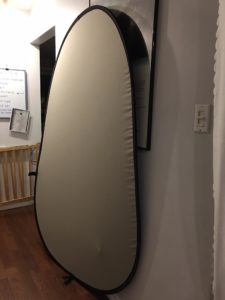
But because the pop-up is collapsible can be a certain warp to the backdrop which may be problematic if you are hoping to light it. For the purposes that I bought for, this is not a concern, but not sure what I’d need to do if I wanted to get a perfect halo of light around the head of my subject. you might be able to clip it to the legs of the stand perhaps, but I haven’t tried it.
But while it’s a touch warpy isn’t not floppy exactly. And it’s freaking fast to set up and take down.
Time to set up and strike
This was the biggest reason I got this. Time and ease. It’s a win in this regard in every way as far as I’m concerned.
The first time setting it up it took just four minutes including the time it took to get the light stand from the basement! It’s really just a matter of popping it open, (finding a stool in my case), setting up the light stand and clipping it on (the one I bought came with a clip). It would have been less time had I realized I needed the stool ahead of time. I had to time going down to the basement because sometimes I don’t look forward to setups. By timing how long it actually takes as opposed to how long it seems to take helps me get over my resistance.
Taking it down, folding it up, and putting it back into its zippered bag, including the time it took to put it into the basement under three minutes. A minute and a half to take it down and get it into the bag. That is amazing!
Now folding it up is an adventure if you don’t know how to do it and you might want to add, I don’t know, up to an hour and some tears to put it away? And I’d be careful of the frame. I suspect it can get bent out of shape if you’re not careful with the handling of it. I somehow managed to flip it in a way I don’t think it should have been going. But gee, I’ve folded it up several times now, and each time I start of with anxiety that I worry I won’t get it right because I literally can’t wrap my 3d-rotation impaired mind around it, and end up delighted because it seems so freaking easy if utterly mystifying.
So if you are planning on getting one, here is a video on how to fold it up. You can thank me later.
The material in the order product description suggested this was muslin which to me implied it might’ve been some kind of cotton or natural fiber. It is not. Its the same kind of synthetic fabric that many reflectors are made from, although a bit thicker. I am happy about it because I didn’t want to be dealing with pressed-in, sharp wrinkles.
The material is pretty opaque, far more than even a dark curtain. Certainly opaque enough that you don’t have to worry about any light from your lighting that may fall on whatever you have got behind it to bleed through.
But if you are shooting against a window you shouldn’t expect miracles. These shots were against a south-east view mid-afternoon with varying degrees of sun shot on my phone. I’ve included two shots so you can get a better idea of what you might be dealing with depending on the light and exposure. You can see the light stand behind it more clearly in one. But presumably, you are shooting with a flash and can set your exposure to adjust for it. Otherwise, if you are shooting video, you may want to have some material on hand to flag off the light. Probably closing curtain would be enough.
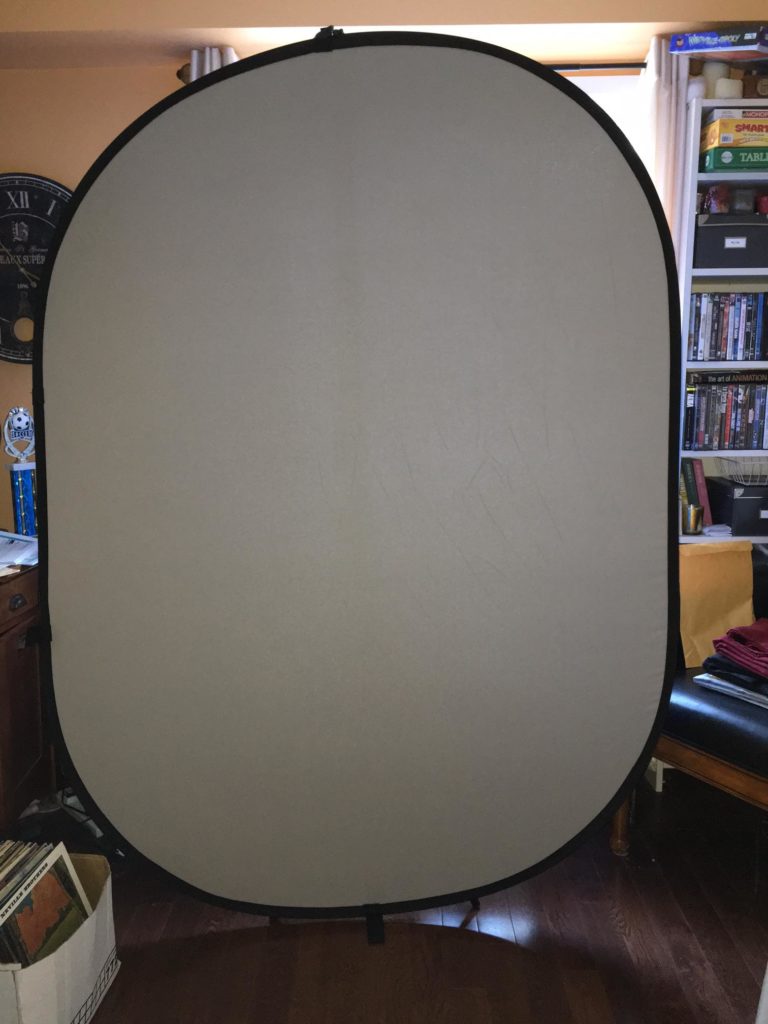
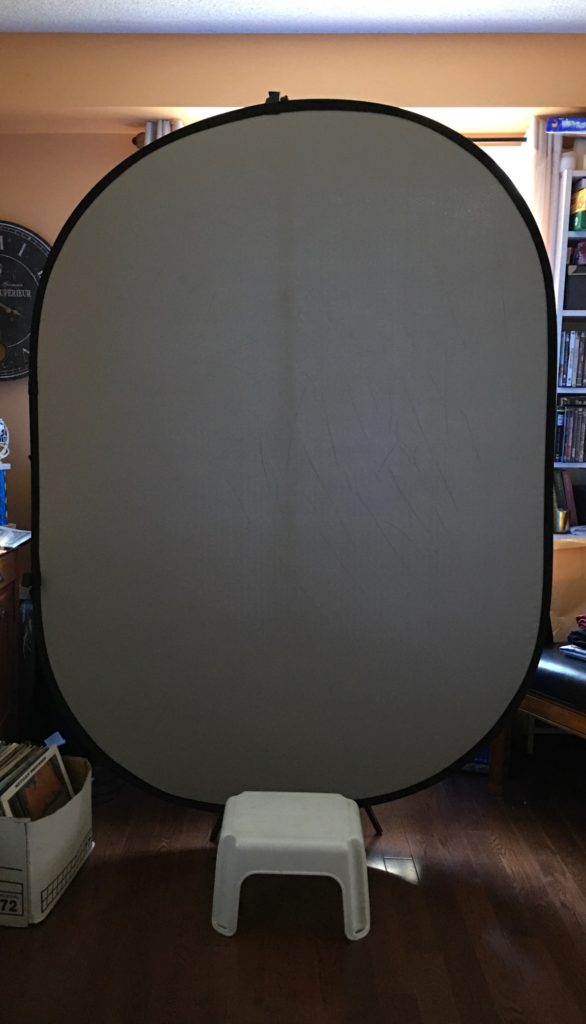
Too big or Just right?
Because of the size of it, I am not sure it’s exactly what I’d want to shoot single headshots or mid-length portraits on location or in small areas especially if you are planning on using a stand anyway. If you are tr4ying to do a shot where you see the floor, you’re going to be doing a lot of work in dealing with the bottom in post.
I think you could go smaller, such as the 3’x 5′ they also list on Amazon.ca (affiliate link). Just opening it alone can be a bit of an… adventure, too, if you are not careful because it has the potential to just spring open. I’d hate to damage something. The larger one cannot really be used for full-length shots anyway because of the corners and how it hits the ground. In an ideal world, a full-length backdrop spills out on to the floor. So that leads me to wonder if the 3′ x 5′ would be just as good if you are doing single waist-high or closer portraits.
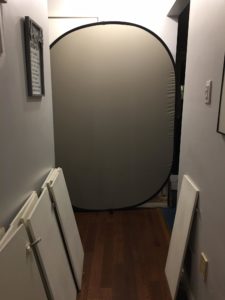
But one advantage over a smaller one is that at 6.5 feet tall you can just lean this up against a wall for most standing portraits which might make this good for on-the-fly portraits. Here is it at the end of my hall. The space it’s in might fit a light stand, but why? Plus it’s just plain faster to set up and sometimes speed is pretty important. And a light stand would also block the hallway. So maybe you walk into someone’s house and that’s all they got. I could do a portrait there. I think. Maybe I should try it first.
If you are someone who also does video, the larger one is a no brainer.
EDIT: I have since used this for shooting a few times. I love it. One comment though, it does not tend to stand up perfectly in this nice oval. It has a bit of a skewed shape to it. It don’t know that anyone ill care but it’s doesn’t look perfect. maybe you’ll care if you are using it with clients.
Giant Grey Card?
I read something somewhere about someone about using the backdrop as grey card but that the light caused some problems. I’ll be honest, I leave my white balance on automatic most of the time because I know I am going to be making adjustments in post, and for the most part I am lighting around 5600K anyway, and I am not having to match shots the way you want to in video. But I do like to have a grey card for colour adjustments.
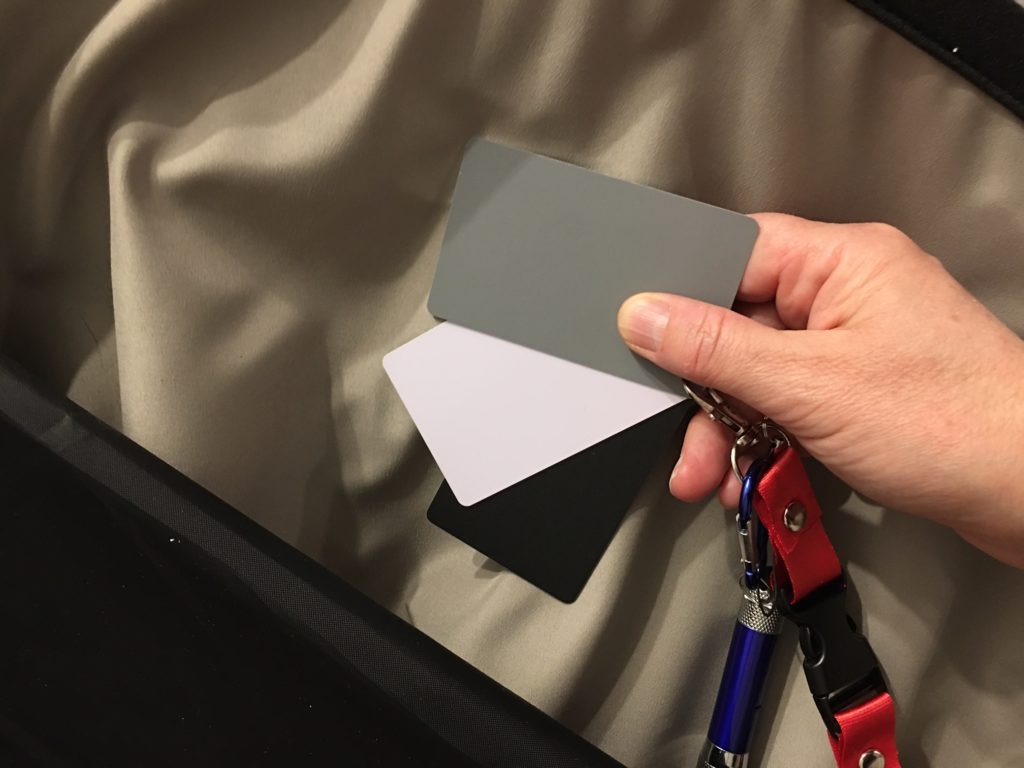
While it’s best to take those grey card shots around the face if you are shooting faces, sometimes you forget, you don’t have the time, or just can’t be bothered. How does this backdrop stack up? In this case, I am shooting under warm LED’s on my phone so you can see it’s got a yellow colour cast to the whole shot, but either way, against the grey card you can see the backdrop, you can see it’s a lighter, warmer grey. But I actually like how it works in Photoshop. I tend to colour grade my images, anyway but I have found using this helpful to get pretty close to a neutral colour to start.
Weight-wise, it’s pretty light. It weighs about 2 1/2 kg or 5lbs maybe? So quite easy to transport. I saw what seemed to be an even lighter version during my hunt on Amazon but after setting this up I don’t think I’d want it any lighter. I’m not even sure the lighter weight I reading was actually describing this size product. It might have been describing the smaller version.
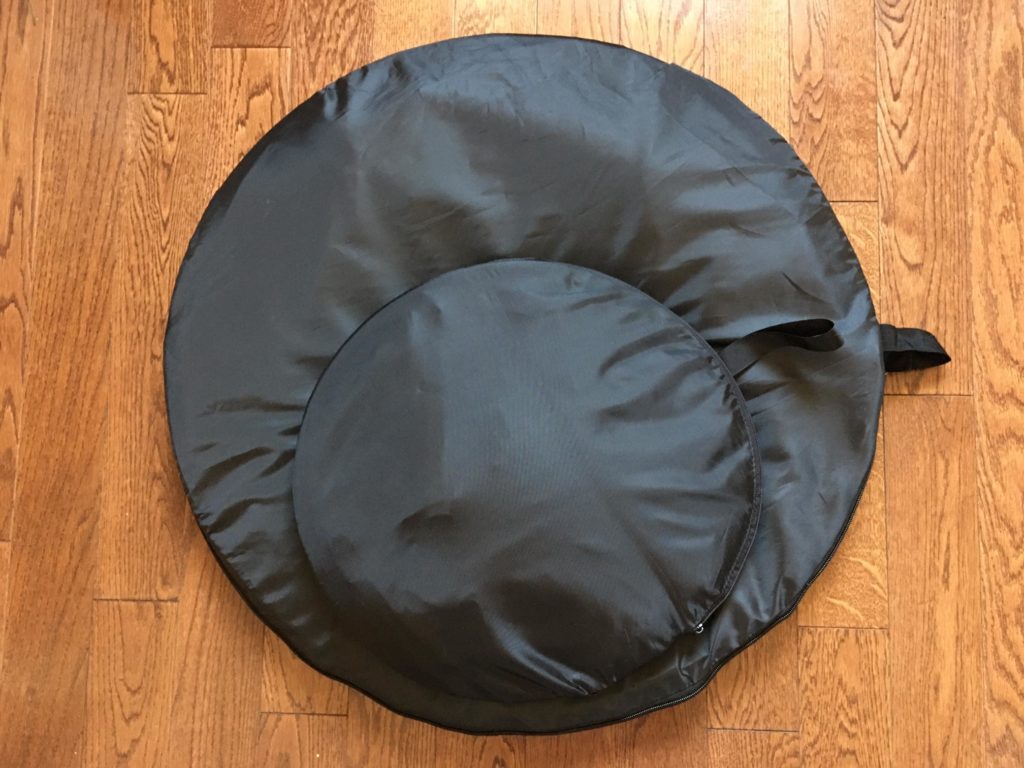
It folds up pretty small at a touch more than 2 feet wide, too. Here it is packed up compared to a packed up standard size reflector for comparison. Bigger but manageable for sure. Love it.
All in all, I am super happy that I have this in my kit now, so happy that I will be considering the 3′ x 5′ at some point, too, with the intention of being even more mobile doing portraits on the move, but I would definitely bring both of them. The fact the bigger one can stand is a huge plus. But getting it out of the bag and uncoiling it – geez, I don’t know. It feels big. You definitely want to practice before you take it on a shoot. But for the work I am currently doing now, this is perfect!
Again, if you are interested – check either the 5 x 5.6 or 3′ x 5′ grey pop-up backdrop (ad) out for more details on Amazon.ca if you are in Canada or here if you shop at Amazon.com in the US.
My only suggestion if you are unable to find this brand is to double-check the sizes if it’s important to you. From what I could tell in my research the ones listed as 5′ x 7′ are actually 5′ x 6.5′. Those extra six inches might matter to you especially if you are shooting people over six feet from a lower angle and the background is some distance away from them.

So like all photography and film gear it helps to know what you are going to do with something.
